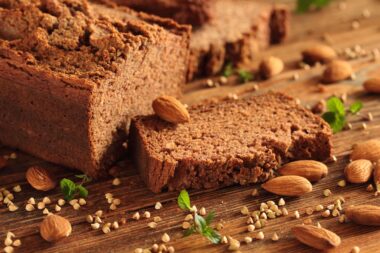
Gluten-Free Snack Bars You Can Make at Home
Making your own gluten-free snack bars at home can be a delightful experience. Not only will you control the ingredients, but these bars can also cater to your specific dietary preferences. You can experiment with various flavors, nuts, and seeds, providing you with limitless variations. Basic ingredients for a gluten-free bar often include oats, nuts, and natural sweeteners like honey or agave syrup. Additionally, incorporating dried fruits like cranberries or apricots adds a wonderful texture and sugars, perfect for energy. Remember to check that your oats are certified gluten-free if you are highly sensitive. Preparation is straightforward; you can mix these ingredients in a bowl, press them into a pan, and refrigerate until firm. Once set, cut them into desired sizes for convenient snacking. This method not only saves money compared to store-bought options but ensures that every bite is tailored to your liking. After a simple glaze of chocolate or honey, you can marvel at your homemade delights while sharing with family or friends. They are perfect for on-the-go or an after-school treat.
Benefits of Homemade Gluten-Free Bars
There are numerous benefits to creating gluten-free snack bars at home. Firstly, you can ensure the quality of the ingredients, thus avoiding preservatives and additives often found in commercial goods. Being aware of every component allows complete health control, specifically for those with gluten sensitivities. Secondly, making these bars can be more economical than purchasing pre-packaged versions. Store-made gluten-free products tend to be pricey due to the specialized nature of the ingredients. Not only can you save money by making your own bars, but you can also produce larger quantities. This is especially beneficial for families or snack enthusiasts. Another beautiful aspect of homemade bars is the freedom to cater to various diets, including vegan or nut-free options. Simply substitute ingredients according to dietary restrictions, ensuring satisfaction without compromising health. Also, you can adjust the sweetness and flavors, catering exactly to your taste preferences. Finally, the fun of creating snack bars can be a wonderful activity to engage children, teaching them about nutrition in an interesting format. This makes such preparations enjoyable while being educational.
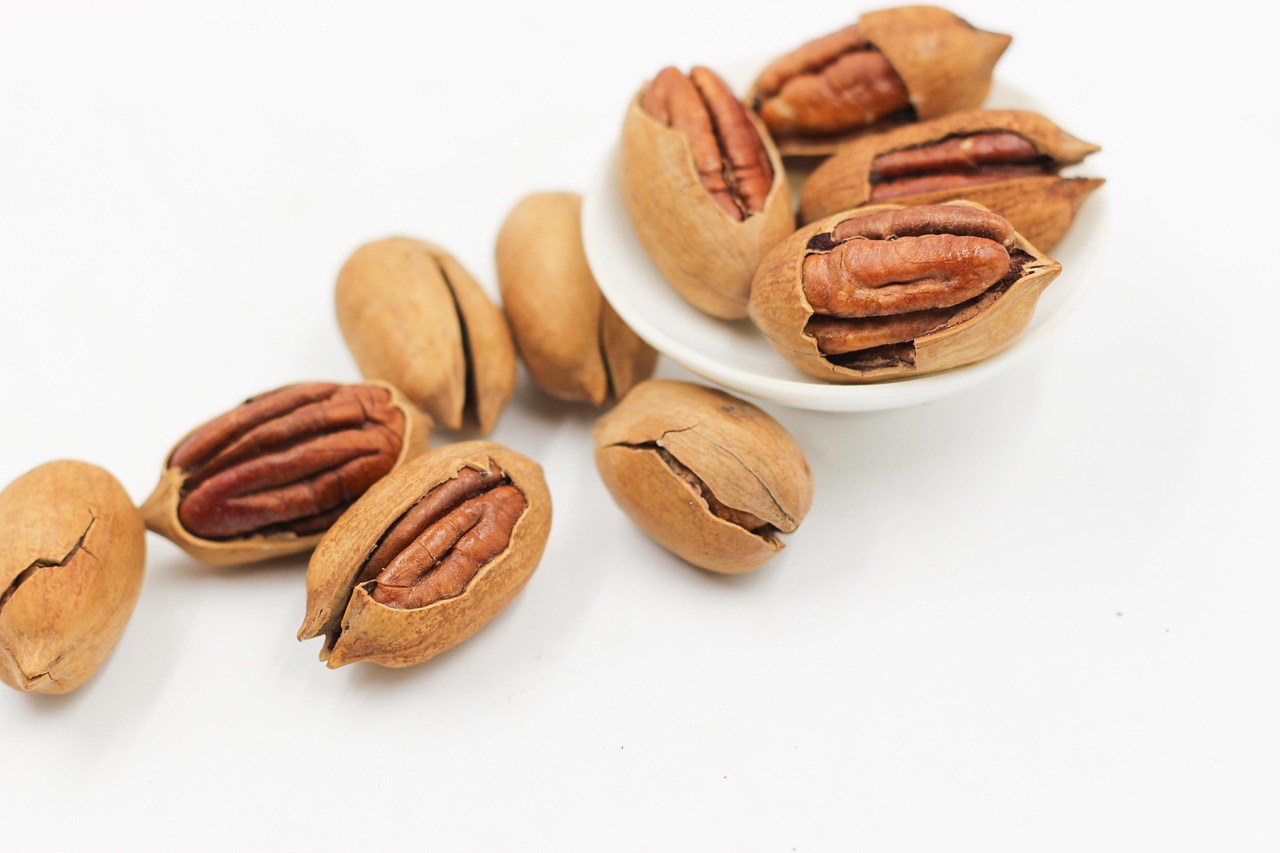
When it comes to flavoring your gluten-free snack bars, the possibilities are truly endless. Start with a base mix of rolled oats and nut butter, then layer your flavor profiles according to preference. For a chocolate lover’s dream, adding cocoa powder and mini chocolate chips can satisfy cravings deliciously. Alternatively, seasonal ingredients, such as pumpkin spice during fall or coconut for summer vibes, can keep the recipes fresh and appealing year-round. Adding spices, such as cinnamon or vanilla, enhances not just flavor but also aroma, making the bars irresistible. Using natural sweeteners like maple syrup harmoniously combines healthiness with flavor. Nuts like almonds, walnuts, or cashews boost protein content and give that satisfying crunch. For fun, consider experimenting with various fruits; for example, banana can add moisture while closely pairing with peanut butter. For ease of consumption, make the bars small enough to be bite-sized, perfect for grabbing on the run. Don’t hesitate to consider unique combinations, as those often yield the best-tasting results. Collaboration in flavors can lead to a snack bar that everyone in the family will love.
Important Tips for Preparation
To ensure success in making gluten-free snack bars, follow some fundamental tips. Start by selecting the appropriate pan, preferably an 8×8 inch or similar size to ensure even thickness. Line the pan with parchment paper to make removal easier. When mixing your ingredients, make sure to incorporate wet and dry components separately, then combine thoroughly for consistent results. Avoid overmixing, as this can affect the texture. Press down the mixture uniformly into the pan for even heating and easier cutting once cooled. Refocusing on the baking time is essential; check regularly to avoid overbaking. For many bars, the desired consistency is soft yet firm enough to hold together. After cooling, refrigerate for several hours to firm up before cutting. Use a sharp knife to make clean lines, ensuring each bar retains its shape. Store the bars in an airtight container, preferably in the refrigerator for extended freshness. If considering mass production, you can double or triple the recipe, adjusting baking time as necessary. This ensures that healthy snacks are always on hand for busy days.
Serving gluten-free snack bars presents exciting opportunities for creativity and enjoyment. These bars are not merely snacks; they can be part of a balanced meal. Pair them with yogurt for breakfast or cut them up and incorporate them into a fruit salad for enhanced nutrition. Additionally, offering various dips can transform their consumption, turning them into a delightful treat for gatherings. Options like almond butter, honey, or melted chocolate can accentuate their flavor. Use ahead to prepare fun lunchboxes or as a grab-and-go breakfast option. When hosting, place a selection of bars on a platter, allowing guests to choose their favorites; visual appeal enhances the enjoyment for all. To transport your bars easily, wrap them individually in parchment paper or store them in reusable snack bags for convenience. Their nutritious nature makes them ideal for hiking, road trips, or simply snacking at home. Remember, their taste will amaze anyone who tries them whether they are gluten-free or not. The versatility ensures that they will become a staple in your healthy eating repertoire.
Storing Your Gluten-Free Snack Bars
Properly storing your homemade gluten-free snack bars is essential to maintain freshness and flavor. Be sure to allow the bars to cool completely before transferring them to storage containers. This prevents moisture build-up, which can lead to spoilage or undesired sticking. An airtight container is crucial for maintaining the integrity of the bars. Although refrigeration extends shelf life, stored gluten-free bars can typically last around one week in a cool pantry or around two weeks in the fridge. If you wish to store them longer, consider freezing the bars. Cut them into portions before wrapping them tightly in plastic wrap or foil; this allows easy access to individual servings. When ready to enjoy again, simply thaw at room temperature or microwave for a few seconds. Keeping labels or notes on which ingredients were used can help track flavors for future reference. It’s also beneficial to note the date they were made. With proper storage, enjoying these nutritious delights can be a seamless part of your daily routine, ensuring healthy snacks are always readily available.
Finally, creating gluten-free snack bars is a fulfilling process that brings together health and creativity. Whether you are looking to satisfy your sweet tooth or need a nutritious energy boost, homemade bars are the ideal solution. Engage your friends or family in the preparation, making it a bonding activity around delicious foods. Beyond just snacking, these bars can pave the way for a lifestyle shift toward healthier eating habits. With simple ingredients and minimal effort, these bars become a go-to option for all ages. Plus, treating yourself doesn’t mean compromising health. Moreover, these recipes encourage resourcefulness in the kitchen. Customizing ingredients based on what you have at home or personal tastes allows for endless variety. Experimenting with flavors can reveal surprising combinations that could become family favorites. The journey of creating these gluten-free snack bars can spark enthusiasm for cooking, leading to more homemade meals. So, stock the pantry with wholesome ingredients, and let the fun begin! By making gluten-free bars at home, you embark on an enjoyable adventure towards better health while indulging your taste buds.